Photos and Text by Roger Altemier
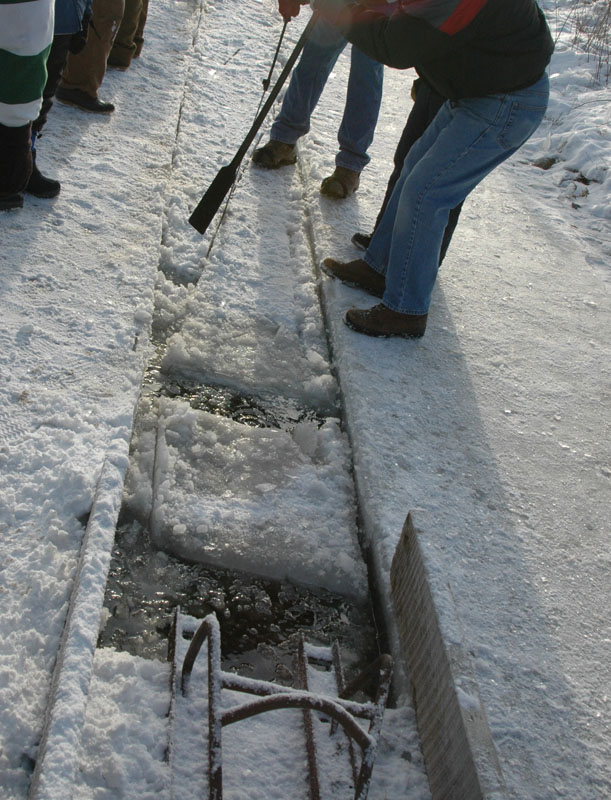
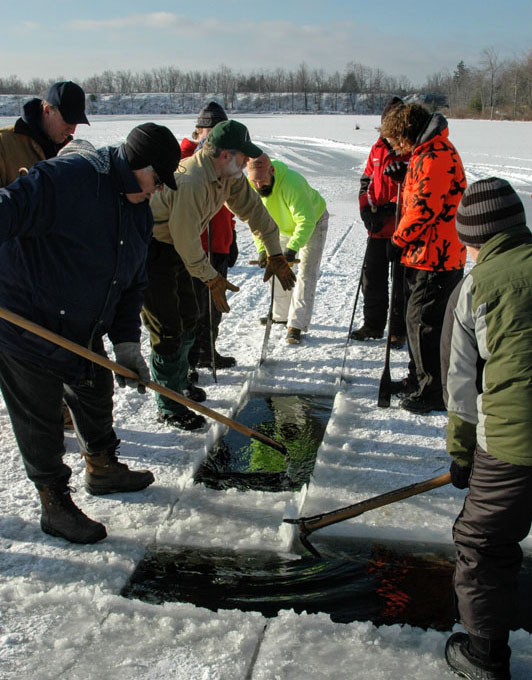
The first step is to open a channel from the ice house out into the ice pond. In this operation, the width of the channel to be cut in the ice is determined by the width of the conveyor slide that is used to move the cakes of ice into the adjacent icehouse. Two parallel cuts are made in the ice, using one man ice saws. The ice at the beginning of the channel is broken up and discarded as it may contain dirt and debris from the shallow water near shore. The channel is extended out into the ice pond to the area chosen to begin ice cutting.
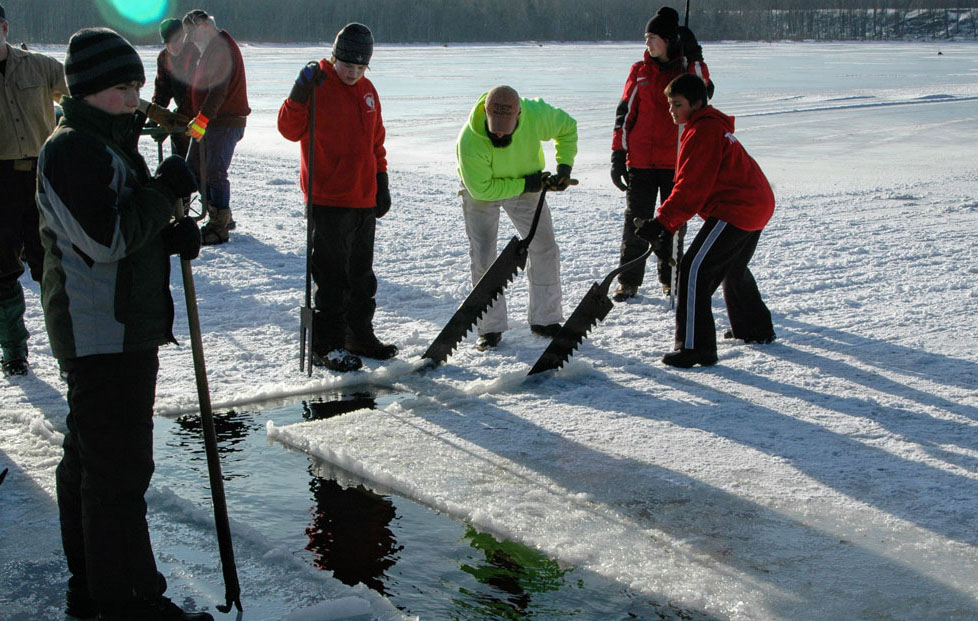
Upon reaching the area where ice was to be cut, the workers turned 90 degrees and cut a channel along one side of the area.
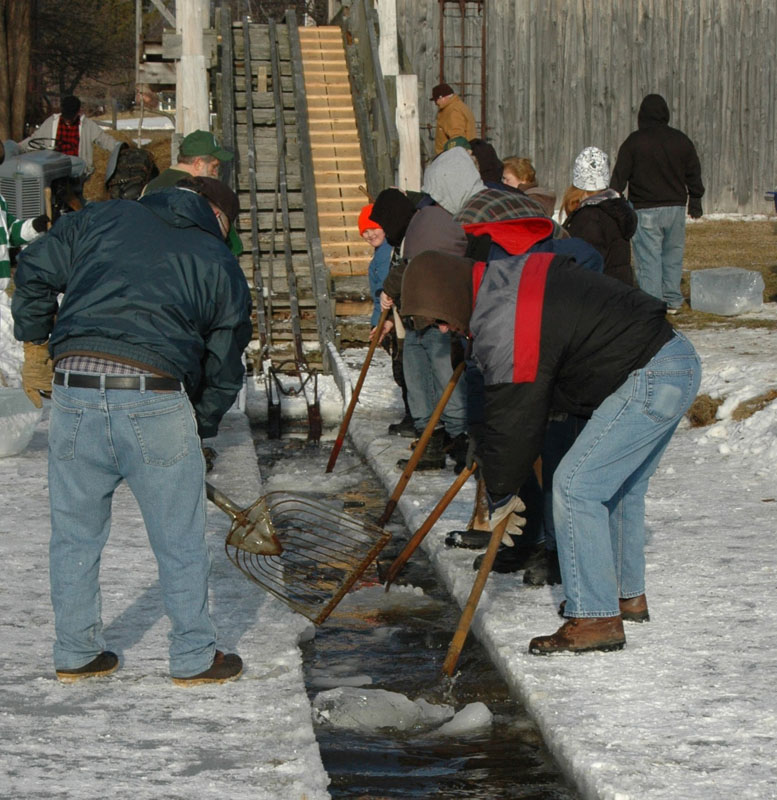
While this was being completed, other workers continued to clean the channel of small chunks of ice that could impede the movement of ice blocks to the ice chute. This was done with shovels that had slots or holes to allow the water to drain out.

The next step in cutting ice is to mark off a grid on the surface of the ice. The area is marked so that ice blocks can be cut to a specific dimension. At this pond, a power saw was used to score the ice. This is a homemade device using an old Ford car drive train and a sawmill blade. The saw does not cut completely through the ice as this would weaken the ice field and make it unstable for continuation of the ice cutting. The ice is cut about 2/3 of the way through the thickness. The area is scored lengthwise, then crosswise, to create a grid of ice blocks. After each cut, the groove is cleaned out so that it can be used to guide the next cut. It was imperative that the cuts be kept parallel to create uniform ice cakes that fit the dimensions required by the ice company. Before the power saw seen above was used to score the ice, horse-drawn ice saws were used.
After the area has been scored, workers using spud bars would break away large blocks of ice called floats, and guide them to the channel. As the floats were guided along the channel, they are broken up into individual ice blocks measuring 22” x 33” in this area. Ice block dimensions varied around the world, depending on storage and shipping methods. Workers used spud boars to break the ice in the channel into blocks of ice that could be used. Men were stationed along the channel and would use pike poles to push or pull the ice cakes along, guiding them toward the ice chute.
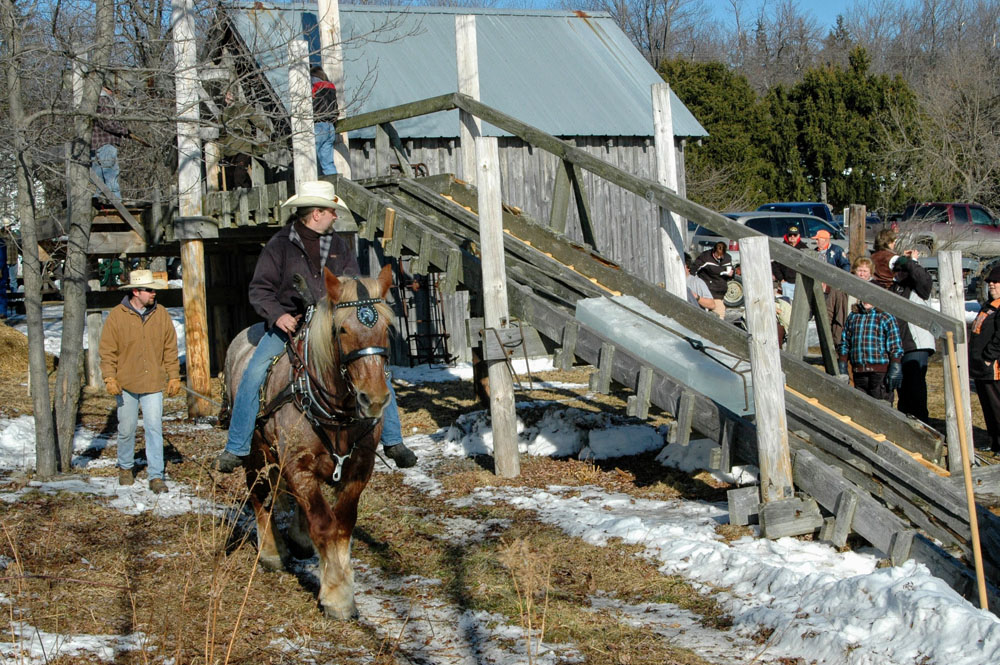
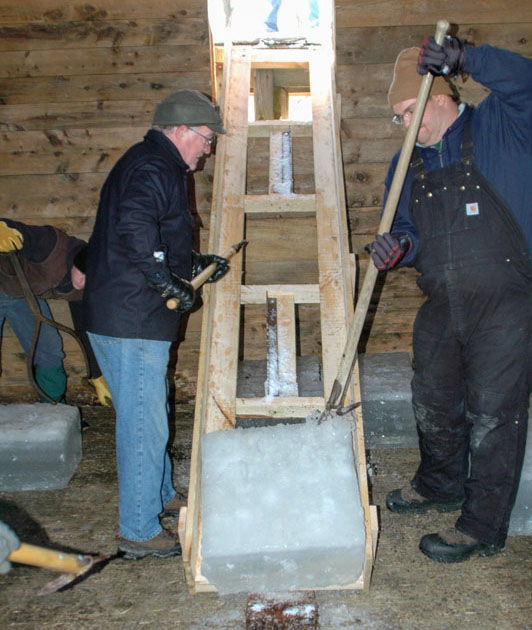
When the ice blocks got to the end of the channel, the next step was to get the blocks up the wooden ramp, called an ice chute, to the top of the icehouses. A rope with a hook attached, runs up the ramp, around a pulley, and down to the ground, alongside the ice chute. Three or four blocks of ice were grouped at the base of the ramp. The hook was placed over the last block. The other end of the rope was attached to a horse or a tractor, which would move forward, pulling the rope, which would pull the ice blocks up to the top of the ramp. When the ice reaches the top of the ramp, a worker guides the ice cakes across the platform to the entrance to the icehouse. There, a chute extends down into the icehouse. The blocks slide down the chute where workers guide them into position for storage.
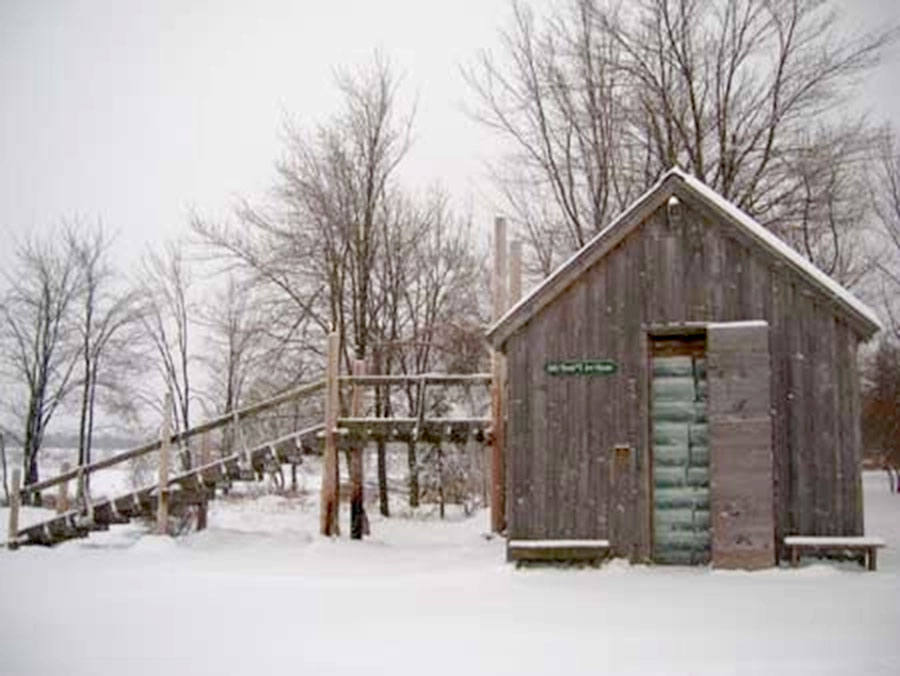
The ice blocks are packed tightly together. As the ice house fills up the chute is adjusted to fit each layer of ice. Behind the walls is a cavity that is filled with sawdust. Sawdust was also used to cover the ice when the icehouse was full. Sawdust was readily available and was the best insulation they had in those days. It was expected that the icehouse would keep the ice through spring, summer and fall of the following year.